 Save
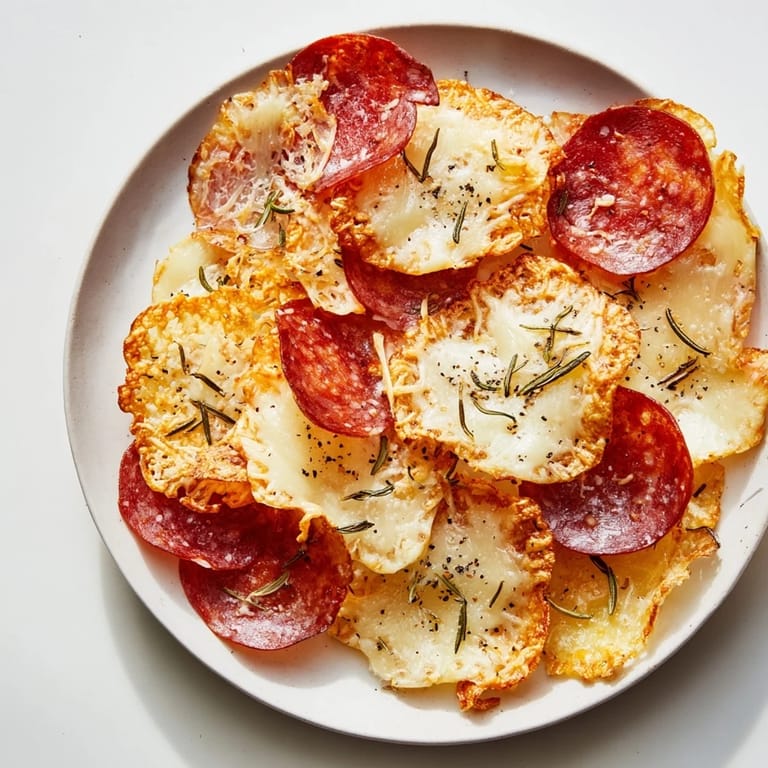
Save The first time I made these, I wasn't actually trying to invent anything—I was just cleaning out my charcuterie board after a party, staring at the leftover slices of salami, prosciutto, and aged cheddar. Instead of tossing them, I thought: what if I baked them? Twenty minutes later, the kitchen smelled incredible, and I was holding actual crispy chips made entirely from cured meat and cheese. It felt like I'd accidentally discovered something special.
I remember bringing a platter of these to a dinner last summer, nervous that they'd seem too weird or gimmicky. One friend grabbed a handful, tasted one, and immediately asked if she could take the rest home—that's when I knew I'd stumbled onto something people actually wanted to eat.
Ingredients
- Thinly sliced salami (100g): The thinner the better—this is what gets those crispy, almost translucent edges that shatter when you bite them.
- Thinly sliced prosciutto (100g): It browns differently than salami, adding a lighter, delicate crispness to your mix.
- Thinly sliced pepperoni (100g): Brings a slight spice and forms these gorgeous little cup shapes as it bakes if you arrange it right.
- Aged hard cheese like cheddar, Manchego, or Parmesan (100g): These melt into crispy, lacy discs—the older and sharper, the better the flavor.
- Semi-hard cheese like Gouda or provolone (100g): Creates a chewier texture that balances the hard cheese nicely.
- Fresh herbs and cracked black pepper (optional): A tiny sprinkle before baking adds flavor without making them soggy.
Tired of Takeout? 🥡
Get 10 meals you can make faster than delivery arrives. Seriously.
One email. No spam. Unsubscribe anytime.
Instructions
- Heat your oven and prep:
- Get your oven to 375°F and line two separate baking sheets with parchment paper—this separation matters because meat and cheese bake at different speeds.
- Arrange the meats:
- Lay your salami, prosciutto, and pepperoni slices flat on one sheet, making sure they don't overlap or touch. They should look almost sparse.
- Arrange the cheeses:
- On the second sheet, space your cheese slices apart—they'll expand and bubble as they bake, so give them room to breathe.
- Season if you're feeling it:
- A tiny pinch of herbs or cracked pepper on the cheese is all you need, but it's truly optional.
- Bake the meat:
- The meat goes in for 8–10 minutes—you're waiting for the edges to curl slightly and turn golden brown. You'll smell it before it looks done.
- Bake the cheese:
- While meat's cooling, slide the cheese in for 6–8 minutes until it's bubbling and the edges are golden. This is the tricky part—don't let it brown too dark.
- Cool and crisp up:
- Let everything cool completely on the baking sheet before moving it around. The cheese especially will crisp up as it cools, so patience here is key.
 Save
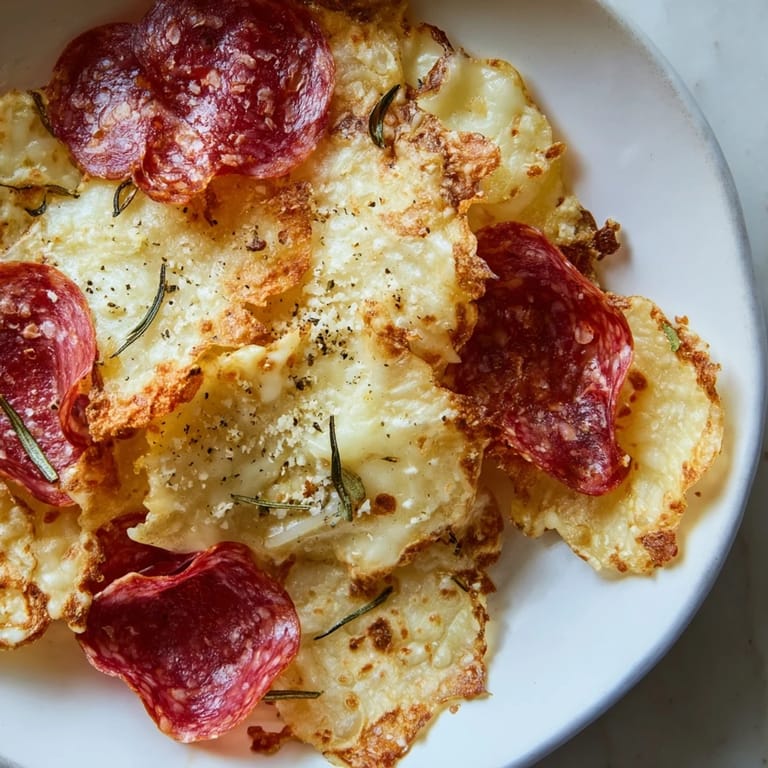
Save There's something deeply satisfying about serving something that looks and tastes expensive but took you barely longer than preheating the oven. These chips have a way of disappearing faster than anything else on the board.
Playing with Flavors
Once you understand the basic technique, this becomes a playground for whatever meats and cheeses you're drawn to. Smoked varieties add a whole different dimension, and I've had great success with spicy salami and sharp aged Gouda. A whisper of smoked paprika sprinkled on the cheese before baking adds complexity without overwhelming the natural flavors. The beauty is that you're already working with bold, flavorful ingredients—you just need to highlight what's already there.
Serving and Storage
These are best eaten the day you make them, while they still have that perfect crispness, but they'll hold at room temperature in an airtight container for up to two days. I like to serve them on a simple platter with olives, pickles, or alongside a light wine—it feels like a proper charcuterie moment without any of the prep. They're excellent for parties because you can make them ahead and plate them just before guests arrive.
Troubleshooting Your First Batch
If your meat chips come out chewy instead of crispy, your oven temperature might be running cool—a quick oven thermometer check never hurts. If the cheese chips burn on the edges, they're likely too thick; ask your cheese counter to slice them paper-thin. The learning curve is small here, but these little details make the difference between mediocre chips and ones people actually remember.
- Watch for browning, not just color changes—a little darkness means maximum crispness.
- If you're using very oily meats, blot them lightly with a paper towel before baking to reduce splattering.
- Room temperature storage works best; refrigerating them makes them lose their snap.
 Save
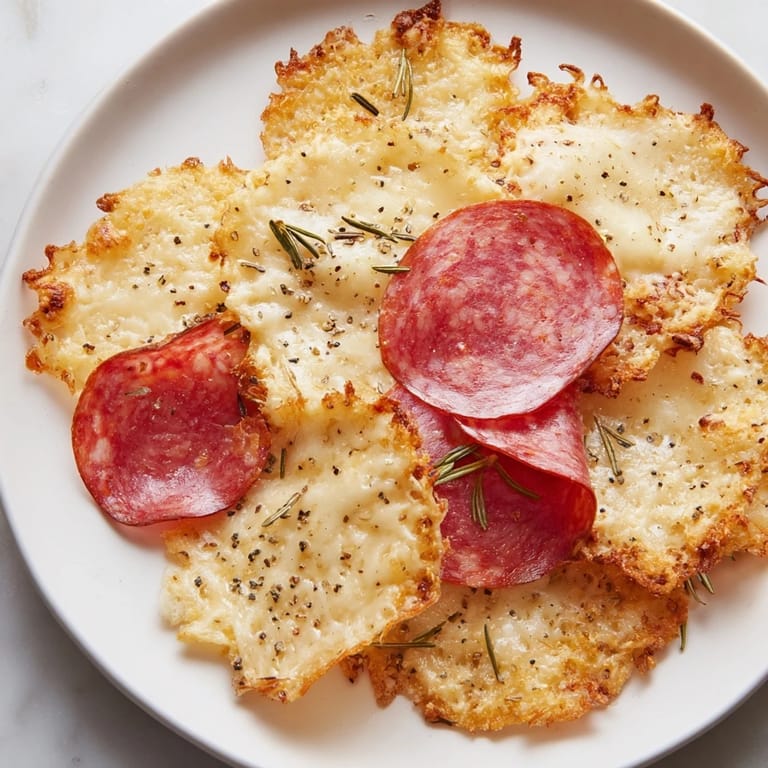
Save These chips proved to me that some of the best foods are the ones we accidentally stumble into, born from a moment of not wanting to waste good ingredients. They're simple, elegant, and genuinely exciting to eat.
Recipe Questions & Answers
- → What types of meats work best for charcuterie chips?
Thinly sliced cured meats like salami, prosciutto, and pepperoni are ideal due to their flavor and texture, crisping nicely when baked.
- → Which cheeses crisp well when baked?
Hard and semi-hard cheeses such as aged cheddar, Manchego, Parmesan, Gouda, and provolone develop a crisp, golden texture perfect for chips.
- → How can I add extra flavor to the cheese chips?
Sprinkle fresh herbs like thyme or rosemary, or add cracked black pepper and smoked paprika before baking to enhance taste.
- → How do I ensure the chips become crispy?
Bake meat and cheese slices separately on parchment paper without overlapping, then let them cool completely to achieve maximum crispness.
- → What are good pairing suggestions for serving?
Pair with olives, pickles, or a light red wine to complement the rich, savory flavors of the charcuterie and cheese chips.