 Save
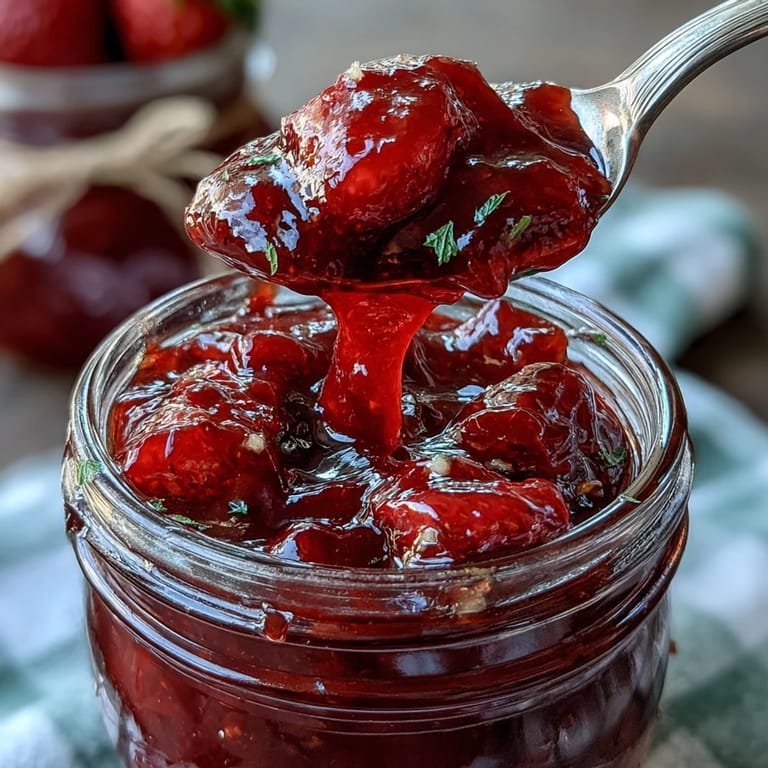
Save Somewhere in late April, when strawberries hit their brightest note, I found myself stuck inside during yet another surprise rainstorm. The kitchen windows fogged up as I hulled berries, their aroma mixing with that sharp hint of lemon on my fingers. There's a peculiar satisfaction in hearing the plunk of ripe fruit into a bowl, knowing jam is just a few stirs away. Making small-batch jam always feels a bit like bottling up a sunrise for later. By the time the clouds had cleared, my counter glowed with ruby jars lined up like little treasures.
One spring afternoon, my friend popped in unannounced, catching me with hands sticky from stirring. We ended up swapping stories over toast spread thick with warm, just-set jam—the kind of laughter that gets caught between sweet mouthfuls. Whenever I make it now, I remember the sun slanting across the table and the feeling that a simple recipe can turn a regular day into something special.
Ingredients
- Fresh strawberries (500 g): Seek out deeply red, fragrant berries at their seasonal best—it’s the key to an intense, bright jam. I’ve learned that overripe ones lose their tang and color, so I always taste before chopping.
- Granulated sugar (250 g): This isn’t just to sweeten—the sugar helps the jam set and preserves the berry flavor for weeks. Always add sugar after mashing, and give it time to pull out the fruit juices.
- Lemon juice (2 tbsp, freshly squeezed): A splash of acidity balances the sweetness and brings out the berries' natural zing. My first batch was missing sparkle until I discovered that fresh lemon makes all the difference.
- Half a vanilla bean (optional): The tiniest suggestion of vanilla luxes up the entire batch. If I’m feeling lazier or out of beans, a spoonful of good vanilla extract joins in at the end instead.
Tired of Takeout? 🥡
Get 10 meals you can make faster than delivery arrives. Seriously.
One email. No spam. Unsubscribe anytime.
Instructions
- Get Started with the Strawberries:
- Tumble the strawberry halves into a heavy pan and crush half of them gently—enough to release juice, but keep some chunks for a homemade feel.
- Sweeten and Rest:
- Sprinkle over the sugar and lemon juice, then stir well. Leave everything to macerate for 10 minutes; you’ll see juice collect and berries glisten.
- Infuse with Vanilla:
- If you like, scrape in the seeds of half a vanilla bean and toss in the pod for extra depth.
- Gently Boil the Mixture:
- Set the pan over medium heat and stir, letting sugar dissolve as fruity steam rises. Bring to a gentle boil and keep an eye out for foam; skim it away for a clear jam.
- Monitor the Magic:
- Keep simmering and stirring for about 20–25 minutes, until the jam thickens and the bubbles slow. Check readiness by dropping some on a cold plate—if it wrinkles when nudged, it’s set.
- Finish and Jar Up:
- Take the pan off the heat, fish out the vanilla pod, and let the jam cool for 5 minutes. Ladle into sterilized jars while still hot and seal with lids.
- Cool and Store:
- Let jars cool to room temperature, label if you like, and refrigerate. Enjoy within a month for the brightest flavor.
 Save
Save 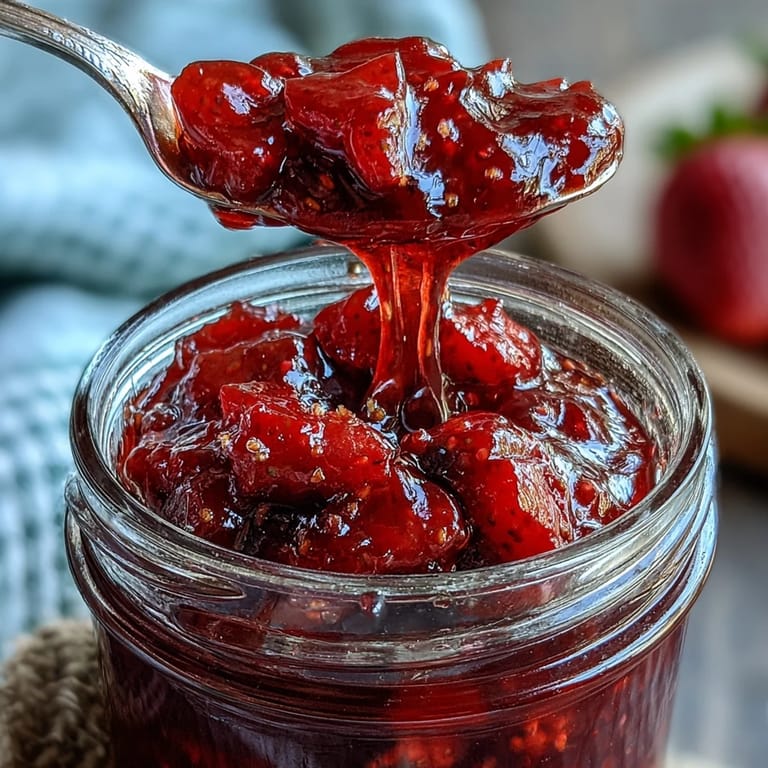 Save
Save The real magic showed itself when I gifted a jar to my neighbor, only to find it spread on her scones at our next get-together. Suddenly my simple spring project was the heart of someone else’s celebration, and the jam’s bright taste turned a grey afternoon golden.
Choosing Your Strawberries
The difference between a good and a great jam starts with the fruit—I learned to skip underripe berries (which taste flat) and to avoid any that are too soft or bruised. Picking strawberries at the market, I look for ones that smell irresistibly sweet and have no white tips. It’s tempting to use whatever’s on hand but fresh, local berries truly shine in this recipe. Once, I tried using garden berries, and the flavor was electric compared to anything store-bought. Wash gently and hull just before you’re ready to jam to preserve their brightness.
Decorating and Gifting Ideas
I save up old glass jars and bits of cheerful fabric for just this purpose—a cottagecore jam deserves a little dress-up. Wrapping a jar in gingham and tying it with twine turns something simple into a gift that feels made with love. Friends always seem delighted by a personalized label or a tag scribbled with a joke. Jars tucked into baskets or lined up by the window instantly cheer up any space. These little details make every batch even more special to give—or receive.
Personalizing Your Jam Batch
Once you’ve got the basic recipe down, experimenting is half the fun—sometimes I toss in a sprig of fresh basil or thyme for a gentle herbal kick. If you prefer things a little tarter or less sweet, you can adjust the sugar or lemon juice without fear. And don’t worry too much if the first batch’s texture isn’t perfect; thick, runny, or somewhere in between, homemade always tastes better.
- Keep jars hot and dry until filling to minimize spoilage.
- Label your jars with the date for easy tracking.
- Never double the recipe for small batches—the texture suffers.
 Save
Save 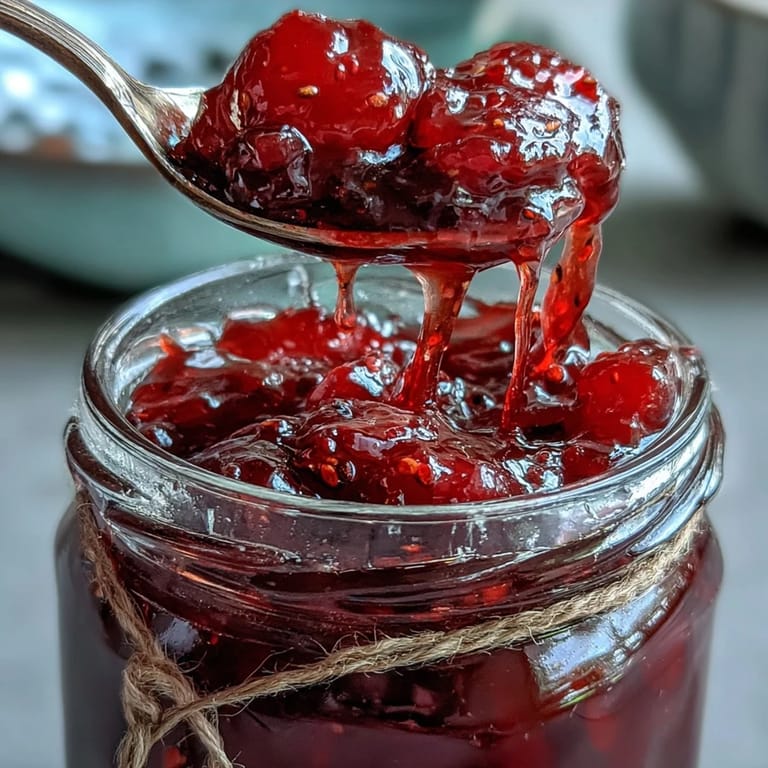 Save
Save I hope this little jar brings a flash of sunshine to your breakfasts as it has to mine. Every spoonful carries a bit of that springtime energy, ready to brighten your day whenever you need it.